When to clean a chimney? How to clean the chimney? Read this and you’ll know how and when your chimney should be cleaned.
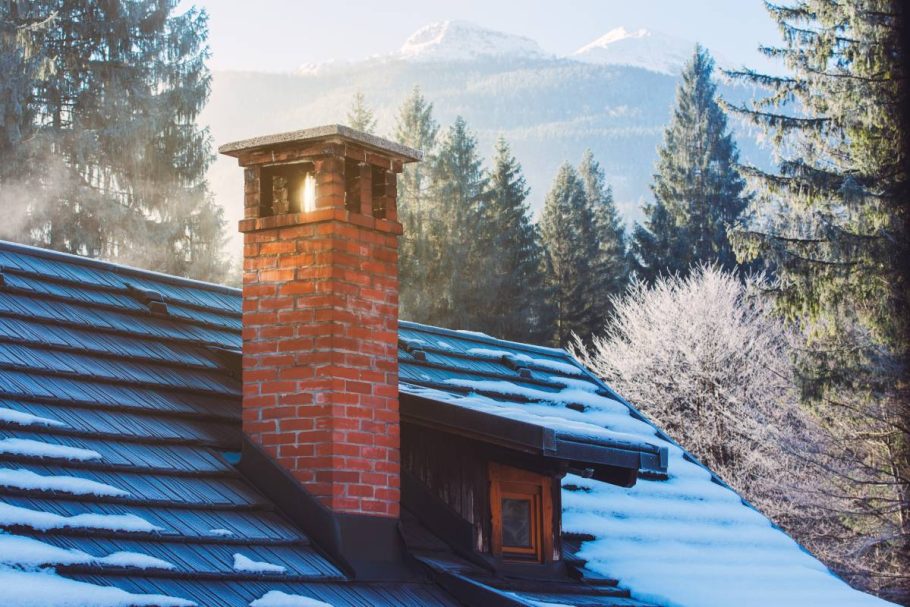
Wood-burning fireplaces have a classic appeal that gas fireplaces lack. However, the cosy crackle and warm glow of wood fires come with a downside: cleaning. When you burn wood, it creates smoke and gases that leave behind soot and creosote in the chimney. A dirty chimney doesn’t draw smoke properly, which can lead to smoke inside your home. Even worse, it can cause chimney fires.
But with the proper tools, a helper, and a few hours of dry weather, you can clean your chimney yourself.
Before You Start
If you’re planning to clean your chimney yourself, you’ll need to get some chimney-cleaning tools. Don’t worry, though—you should be able to cover the cost with just one or two cleanings.
A basic set of chimney cleaning tools includes a wire brush, around five or six extension rods, and a hand wire brush (if not included, you can buy it separately).
Before you buy the tools, you’ll need to measure the opening size of your chimney’s flue liner, whether it’s made of masonry or metal. This will help you get the right size brush. You’ll have to go up on the roof to do this.
You might also read:
- What is the purpose of ventilation? How do you ventilate a room? What is another word for ventilation?
- Is steel good for roofing? What are the disadvantages of a metal roof? How much does a steel roof cost?
When to Clean a Chimney
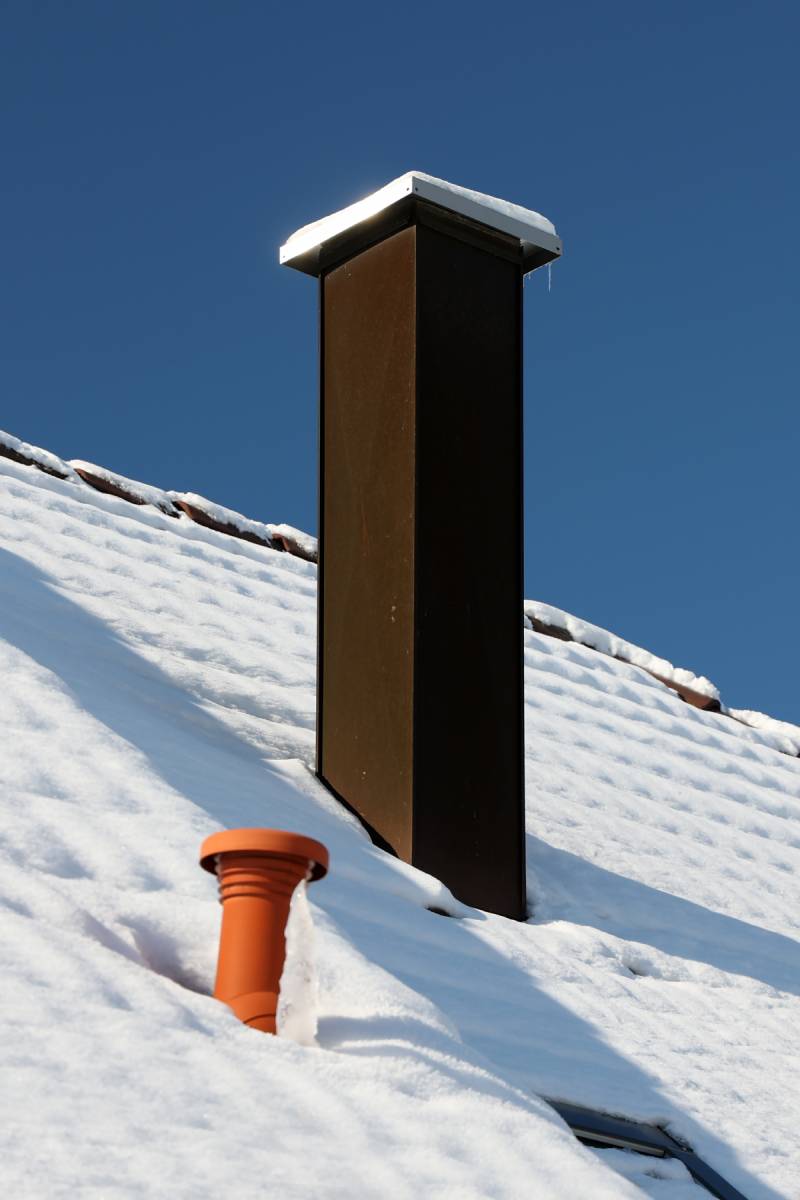
Regular chimney cleaning is essential for maintaining a safe and efficient fireplace. It’s recommended to clean your chimney at least once a year, ideally in early fall when the roof is dry. However, there are circumstances that may necessitate more frequent cleaning or immediate attention.
If you use your fireplace frequently, burning wood regularly, it’s advisable to clean the chimney more often. Likewise, if you burn green, unseasoned wood or artificial pressed-wood logs, which produce more creosote and soot, more frequent cleaning is necessary. Additionally, if you notice soot and creosote falling into the firebox or if the creosote buildup exceeds 1/8-inch thickness, immediate cleaning is required to prevent chimney fires.
While hiring a professional chimney sweep is an option, there are both advantages and disadvantages to cleaning the chimney yourself. On the positive side, cleaning your chimney on your own can lead to significant cost savings over the long term. You have the flexibility to clean the chimney whenever it’s needed, without having to wait for a chimney sweep appointment during busy seasons. It also allows for intermittent maintenance between professional cleanings, ensuring your chimney stays in good condition.
However, there are drawbacks to consider. Purchasing the necessary chimney cleaning tools represents a considerable initial investment. Additionally, cleaning the chimney yourself requires working on the roof, which can be dangerous and messy. Despite these drawbacks, the ability to maintain your chimney independently can ultimately result in safer and more efficient fireplace usage.
Safety First
When ascending the roof, ensure someone is assisting by monitoring the ladder. Even if you’re skilled at roof work, accidents can occur. Wear a well-fitting fall protection harness suitable for your body size and weight, and only access the roof when it’s dry.
Essential Tools To clean your chimney effectively, you’ll need:
- Wire chimney cleaning brush
- Chimney cleaning extension rods
- Hand wire brush
- Shop vacuum with HEPA filter
- Cordless drill
- Flashlight
- Extension ladder
- Fall protection harness
- Breathing protection
- Eye protection
- Gloves
Materials Needed For containment and safety, gather:
- Sheet plastic
- Duct tape
How to Clean the Chimney?
Sealing the Fireplace
To prevent debris from falling into your home, start by opening the fireplace damper. Then, cut a sheet of plastic measuring approximately six feet by six feet and tape it securely to the front of the fireplace. Additionally, lay down a larger piece of plastic on the floor to safeguard it from any potential mess.
Accessing the Roof
Next, position the extension ladder against the house. Before ascending, ensure you’re equipped with your fall protection harness. As you climb, have an assistant hand up the necessary tools and safety gear, including the cordless drill, breathing and eye protection, gloves, fall protection equipment, wire brush, and chimney cleaning tools.
Setting Up Fall Protection
Once on the roof, utilize the cordless drill to secure the fall protection anchor into place. Attach your fall protection harness to the anchor using the rope, ensuring a secure connection that will keep you safe while working.
Removing the Chimney Cap
Using the cordless drill, carefully remove the screws securing the metal chimney caps to the top of the chimney. Keep the screws in a secure location, such as your pocket, and set the chimney cap aside for now.
Preparing the Brush
Now it’s time to prepare the chimney brush for cleaning. Attach the brush securely to one end of the extension rod using the cordless drill. Ensure the other extension rods are within easy reach, allowing you to adjust the length of the brush as needed during the cleaning process.
Using the First Rod
Begin by inserting the chimney brush into the chimney, ensuring a snug fit within the flue. With the brush securely in place, start scrubbing the chimney by moving the brush up and down. As you scrub, slowly guide the brush downward until you reach the end of the first rod.
Adding More Rods
Once the brush is approximately five feet down the flue, attach another rod to the end of the extension rod. Continue scrubbing up and down while allowing the brush to descend further into the chimney. Keep adding rods as needed until you reach the smoke shelf.
Reaching the Smoke Shelf
When the brush reaches a stopping point, you’ve likely reached the fireplace’s smoke shelf. This area marks a turn in the flue just above the firebox. At this point, you’ve reached as far as the chimney brush will go.
Reversing the Brush
As you bring the chimney brush back up, do so slowly and steadily. While raising the brush, continue the up-and-down brushing motion, gradually disconnecting the extension rods as you ascend.
Removing the Brush
With caution, slowly remove the brush from the top of the flue. Take care as the wire rods may snap back during removal.
Cleaning with the Hand Brush
After finishing with the chimney brush and extension rods, use the wire brush to clean around the top of the flue. Allow any debris to fall into the chimney for later removal.
Inspecting the Flue
Direct the flashlight into the chimney flue to inspect your cleaning efforts. If you spot any remaining clumps of creosote, repeat the cleaning process with the chimney brush and extension rods until the flue is thoroughly clean.
Replacing the Chimney Cap
Once satisfied with the cleanliness of the flue, securely screw the chimney cap back into place. Hand the tools down to your assistant and detach from the roof anchor before safely descending from the roof. Leave the roof anchor intact for future chimney cleanings.
Removing Plastic from the Firebox
To prevent dust from spreading, avoid removing the plastic immediately after cleaning. Allow approximately 10 minutes for the dust to settle before carefully removing the sheeting. Fold the plastic inward to contain the dust for disposal.
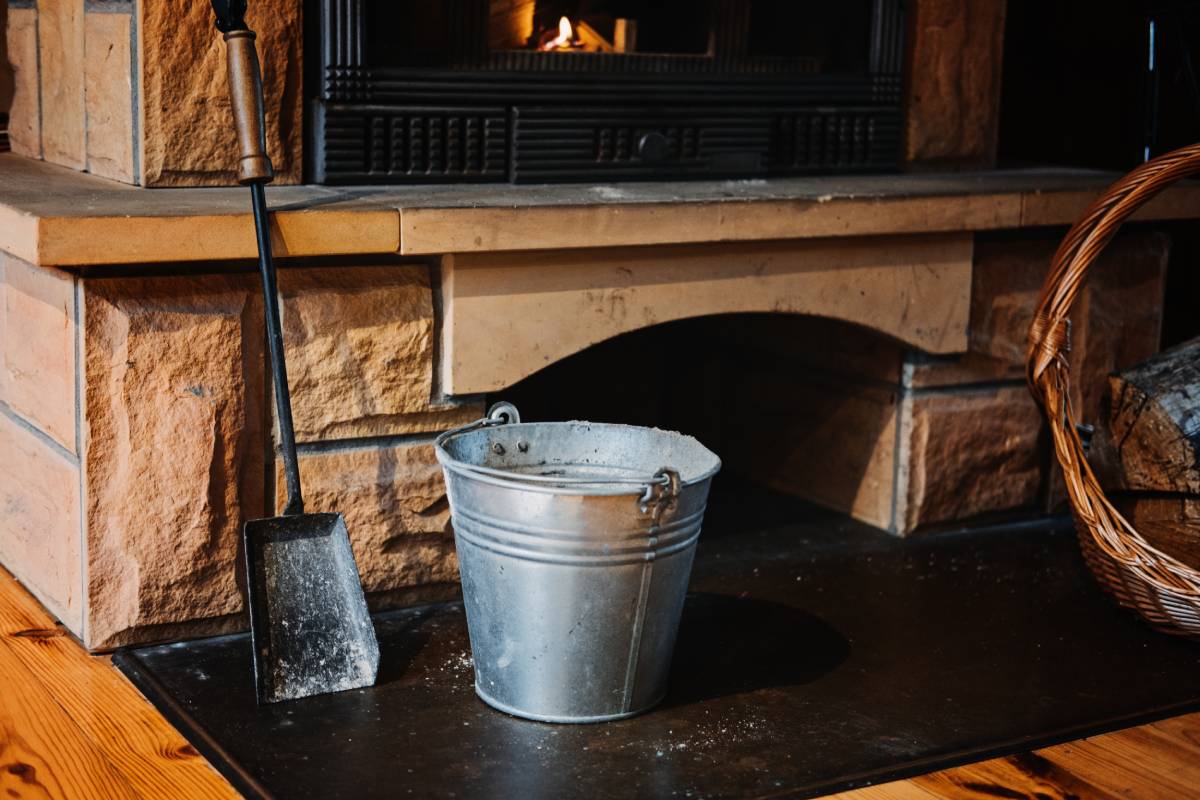
Cleaning the Firebox
Using the wire brush, thoroughly brush down the interior of the firebox to remove any remaining debris. Then, use the shop vacuum equipped with a HEPA filter to clean out the firebox. Utilize the vacuum’s extension tubes to reach up to the smoke shelf, ensuring a comprehensive cleaning of the firebox’s sides and bottom.
Clearing the Area and Final Steps
Once the firebox is clean, remove the flooring plastic and properly dispose of any creosote remains. While the EPA permits disposing of creosote in ordinary municipal trash, always check with local authorities for specific disposal guidelines to ensure compliance with regulations.
When to Call in the Pros
If climbing up ladders or dealing with a chimney that’s had a fire freaks you out, it’s totally cool to call in the experts. Staying safe is the name of the game, and the chimney cleaning pros know how to do the job right without any drama.
Plus, there are some tricky spots in your chimney, like the smoke shelf, that your regular vacuum just can’t get to. The chimney sweep crew has all the fancy gear to clean out even the hardest-to-reach places, so you know they’ll get it all spick and span.