Painting: Prepare your home’s exterior by cleaning, repairing, sanding, and priming. Learn how to paint over old paint for a lasting finish.
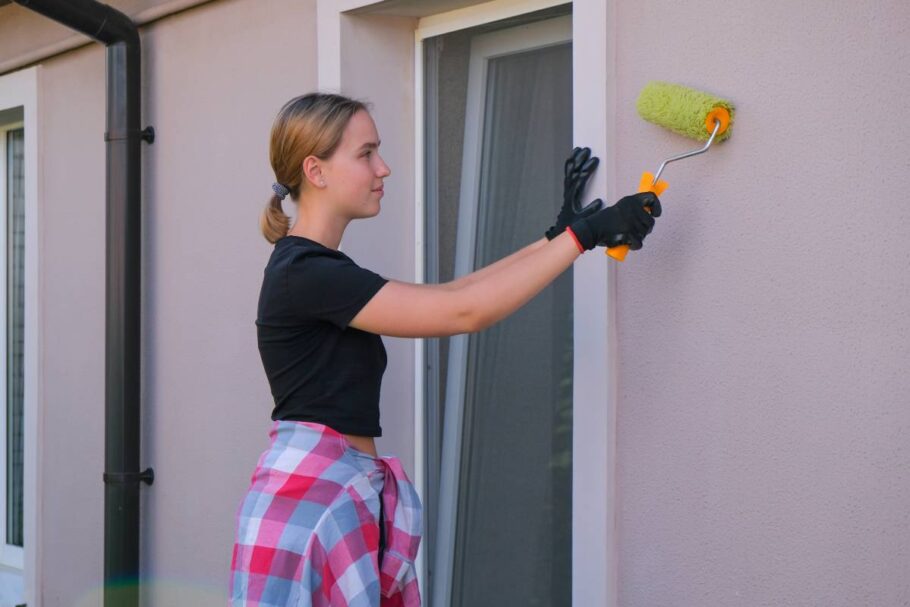
Painting the exterior of your home is a great way to boost its curb appeal, protect it from weather damage, and increase its value.
But before you start slapping on paint, proper preparation is essential. Skipping or rushing the prep work can lead to peeling, cracking, or uneven paint that won’t last.
In this article, we’ll walk you through why preparation matters, what steps you need to take before painting your exterior house, and whether it’s okay to paint over old paint.
With the right preparation, your painting project will not only look professional but also stand the test of time.
Easy Steps to Prepare for Painting
1. Check the Surface First
Walk around your house and look at the walls, siding, windows, and trim. Watch out for:
- Peeling or flaking paint
- Mold or mildew
- Cracks or holes
- Rotten or damaged wood
- Rust spots or loose nails
Fix these issues before painting. If you paint over damage, the paint may not last long and could peel again quickly.
If you find areas with water damage, check where the moisture is coming from and fix the leak or gutter issue first. Thorough inspection now helps avoid more work later.
2. Clean the Walls
Dirt and mildew make it hard for paint to stick. Use a pressure washer to clean the surface. This removes dirt, dust, old paint chalk, and mildew. Be careful with high pressure too much can damage wood or siding. For delicate areas like stucco or softwood, choose a lower setting.
If you don’t have a pressure washer, scrub the walls with a brush and mild cleaning soap or a bleach solution in areas with mold. Cleaning ensures you get a smooth surface that allows paint to bond properly. Let the surface dry completely after washing.
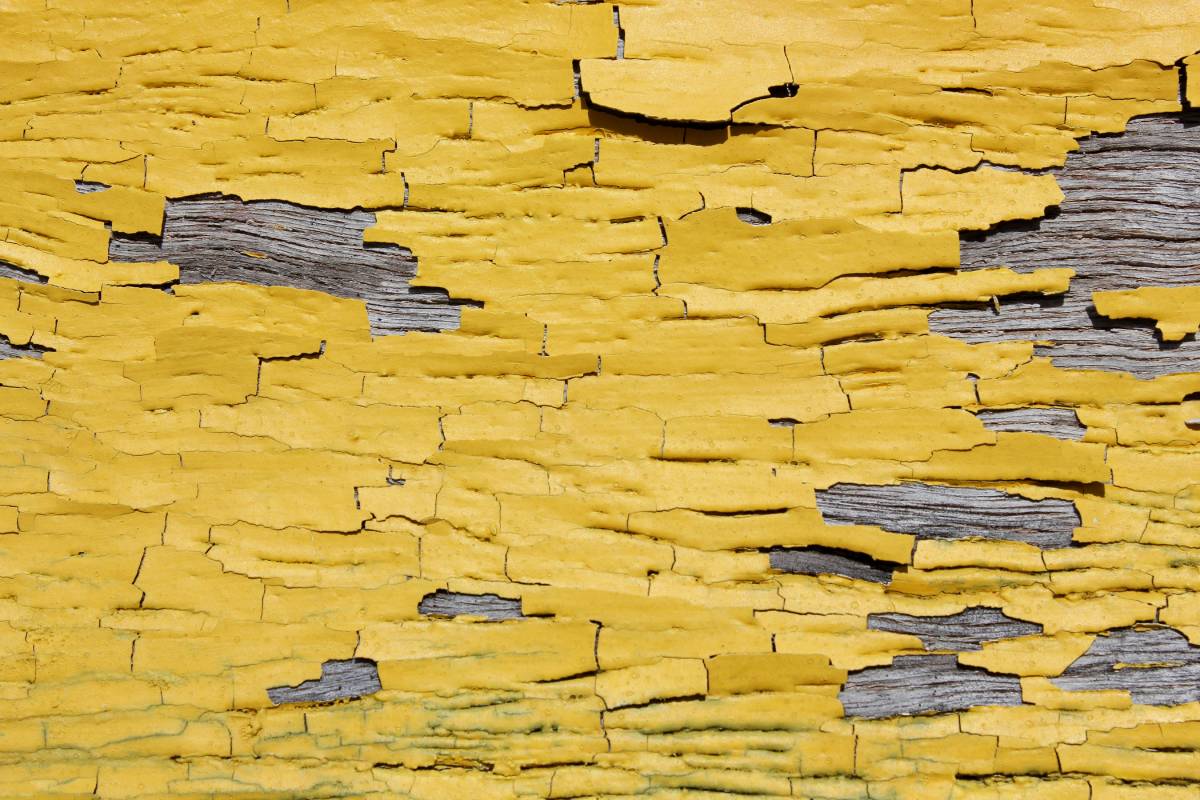
3. Scrape Off Old, Loose Paint
After the wall is clean and dry, scrape off any peeling or loose paint using a scraper or wire brush. Focus on edges where the paint is lifting. Then, sand the edges of the old paint to make it smooth.
This helps the new paint go on evenly without bumps or ridges. Using an electric sander can save time for large areas. Don’t skip this step paint won’t stick well to peeling surfaces, and it can cause new paint to bubble or flake off.
4. Make Repairs
- Replace any wood that is rotten. Rotted wood can cause paint to fail quickly.
- Fill small holes or cracks with outdoor filler or caulk. This includes around window frames and siding seams.
- Nail down loose boards or trim. Replace anything that’s warped or missing.
Let repairs dry completely before painting. If you’re painting over caulked areas, use paintable caulk. Also, check that your repairs are flush with the surface so the final paint looks smooth.
5. Sand Rough Areas
Use sandpaper to smooth rough patches or old scraped spots. Sanding also helps new paint stick better. Use medium or fine sandpaper. For previously painted surfaces, a light sanding is usually enough.
Focus on shiny or glossy areas to help the primer grip better. After sanding, brush off the dust with a broom or clean cloth. A dust-free surface is key to a clean paint finish.
6. Prime the Surface
Primer helps paint stick and covers up stains. Use a primer if:
- You’re painting bare wood or metal
- You repaired spots or patched holes
- You’re changing from dark paint to a light color
A good primer makes a big difference in how your final paint job looks and lasts. There are different primers for different surfaces, latex for wood, stain-blocking for smoke or water damage, and bonding primers for slick surfaces like aluminum or vinyl siding.
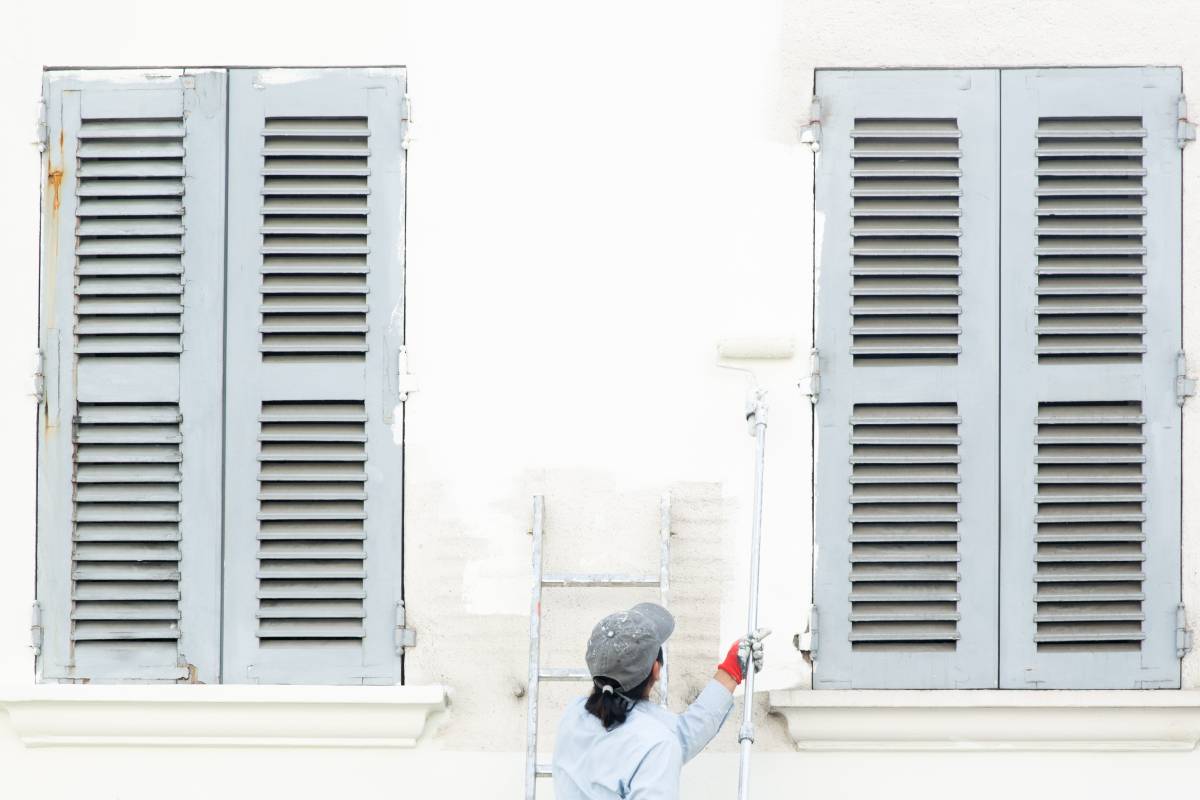
7. Protect Everything Around
Before painting, cover your plants, furniture, decks, or sidewalks with drop cloths or plastic sheets. Tape off windows and doors for cleaner lines.
You don’t want paint splashes on outdoor furniture, garden beds, or walkways. If you’re using a sprayer, take extra care to shield areas not meant to be painted. Wind can carry overspray and create extra cleanup.
Can You Paint Over Old Exterior Paint?
Yes, but only if the old paint is still in good condition. If it’s clean, not peeling, and sticking well to the surface, you can paint over it.
But you still need to prep:
- Remove peeling parts
- Clean the surface
- Sand and prime any repaired spots
- Make sure it’s dry and smooth before painting
If you’re not sure new paint will stick, use a bonding primer. It helps new paint hold on better to glossy or older surfaces.
Painting over old paint can save time and materials, but it’s not a shortcut. Skipping steps like cleaning and sanding can result in peeling, uneven coverage, or shorter paint life.
Painting Tips for Better Results
- Pick the right day: Avoid rainy, hot, or windy days. Mild, dry weather is best. Early fall or spring is often ideal for painting projects.
- Use good paint: High-quality exterior paint lasts longer and covers better. It resists fading, cracking, and mildew. Paint that includes primer can save a step, but only on well-prepped surfaces.
- Work in small sections: This helps you stay organized and avoid rushing. Focus on one wall or side at a time. Complete prep, priming, and painting before moving to the next.
- Use the right tools: Get brushes and rollers made for outdoor painting. If you use a sprayer, make sure to cover nearby areas well. Extension poles and ladders make reaching high areas safer and easier.
- Stir paint well: Always stir your paint before using it. If using multiple cans of paint for one side of the house, mix them together in a large bucket to ensure consistent color.
Painting a Ceiling
Painting ceilings whether inside your home or outside on covered patios, requires good preparation just like painting walls. First, protect your floors and furniture by covering them with drop cloths to catch any drips. Use painter’s tape along the edges of the ceiling or molding to get neat, clean lines.
To reach high spots easily, use a roller with an extension pole. Choose a flat or matte paint finish for ceilings because it reduces shine and hides imperfections. Start painting by using a brush along the edges, then use the roller to cover the middle areas.
Let the first coat dry completely before applying a second coat. If your ceiling has stains or discoloration, apply a stain-blocking primer before painting to keep those marks from showing through.
Final Thoughts
Painting your home’s exterior takes time and effort, but preparing the surface makes all the difference. Whether you’re covering old paint or starting fresh, prep work will help your new paint job last for years.
Yes, you can paint over old paint but only if it’s in good shape. Always clean, repair, sand, and prime before painting. When done right, painting gives your home a fresh, beautiful look and adds long-term protection.
With patience, quality tools, and the right prep work, your exterior painting project can transform your home. Investing time in preparation ensures the paint will not only look great but also protect your house from weather, moisture, and wear. That’s the real value of good prep and a job well done.