The proper way to paint a ceiling, from preparing the tools and surface to applying effective painting techniques for a beautiful and professional result.
Painting a ceiling may seem like a daunting task, especially for those new to DIY home improvement projects. However, with the right tools, techniques, and a bit of patience, you can transform your ceiling into a beautiful, professional-looking feature of your home.
Whether you’re refreshing a room or changing the color to brighten your space, understanding the proper steps and best practices for ceiling painting is essential.
In this guide, we’ll walk you through everything you need to know, from the best tools for the job to the step-by-step process of painting a ceiling with a roller, as well as common mistakes to avoid. No matter your experience level, this guide will help you achieve a flawless finish with ease.
Why Should You Paint Your Ceiling?

Before diving into the how-to, it’s important to understand why you might want to paint your ceiling in the first place.
Over time, ceilings can accumulate dust, stains, and discoloration, all of which can detract from the overall look of your room.
Whether you’re looking to refresh a room with a new coat of paint or you want to lighten up a dark room, painting your ceiling is an easy way to improve the aesthetics of your space.
The Tools You Need to Paint a Ceiling
To properly paint a ceiling, you’ll need the right tools and equipment. Here’s a list of what you’ll need to get started:
- Paint: Choose a quality ceiling paint or flat finish paint, as it will hide imperfections better than a glossy finish. Flat paints are great for ceilings because they minimize the glare and give a smooth, even appearance.
- Roller and Tray: A roller with a long handle is essential for reaching the ceiling without having to stand on a ladder constantly. A medium nap roller cover (around ⅜ to ½ inch) is ideal for most ceilings.
- Extension Pole: This tool helps you reach the ceiling without needing a ladder, making the process safer and less time-consuming.
- Painter’s Tape: You’ll need painter’s tape to protect the edges of walls, trim, and light fixtures.
- Drop Cloths or Plastic Sheets: These are necessary to protect your floor and furniture from paint splatters.
- Step Ladder: If you prefer to use a ladder rather than an extension pole, a sturdy step ladder will give you the height you need.
- Paintbrushes: A 2 to 3-inch angled brush is perfect for cutting in around edges and corners.
- Duplex and Simplex: If you have a Duplex or Simplex ceiling system, which features different textures or sections, consider having specialized tools to handle textured ceilings or unique configurations. These tools may include sponges or specialized rollers designed to work efficiently on textured surfaces, ensuring you get smooth, even coverage on every part of your ceiling.
Step-by-Step Guide: How to Paint a Ceiling for Beginners with a Roller
Painting a ceiling can feel like a big job, but it can be manageable if you follow these steps.
Step 1: Prepare the Room
Before you start painting, take the time to properly prepare your room:
- Cover the Furniture: Use drop cloths or plastic sheeting to protect your furniture and flooring from drips and splatters.
- Tape Off Edges: Apply painter’s tape along the edges of the ceiling, where it meets the walls and around light fixtures, vents, and other obstacles. This helps create clean lines and prevents the paint from smearing onto unwanted surfaces.
- Clean the Ceiling: Dust and cobwebs can accumulate on ceilings over time, so it’s important to give your ceiling a thorough cleaning. Use a broom or microfiber cloth to gently remove any debris from the surface. If your ceiling has stains or grime, clean it with mild soap and water, and allow it to dry completely before painting.
- Repair any Damage: If you have cracks or holes in the ceiling, patch them with spackle or joint compound. Once dry, sand the patched areas smooth and prime them before painting.
Step 2: Prime the Ceiling (If Necessary)
Priming your ceiling is especially important if you are painting over dark colors, stains, or bare drywall. Priming helps to seal the surface and provide a smooth base for the paint. Choose a primer designed for ceilings, and apply a thin coat using a roller or brush. Allow the primer to dry completely before applying paint.
Step 3: Cut In the Edges
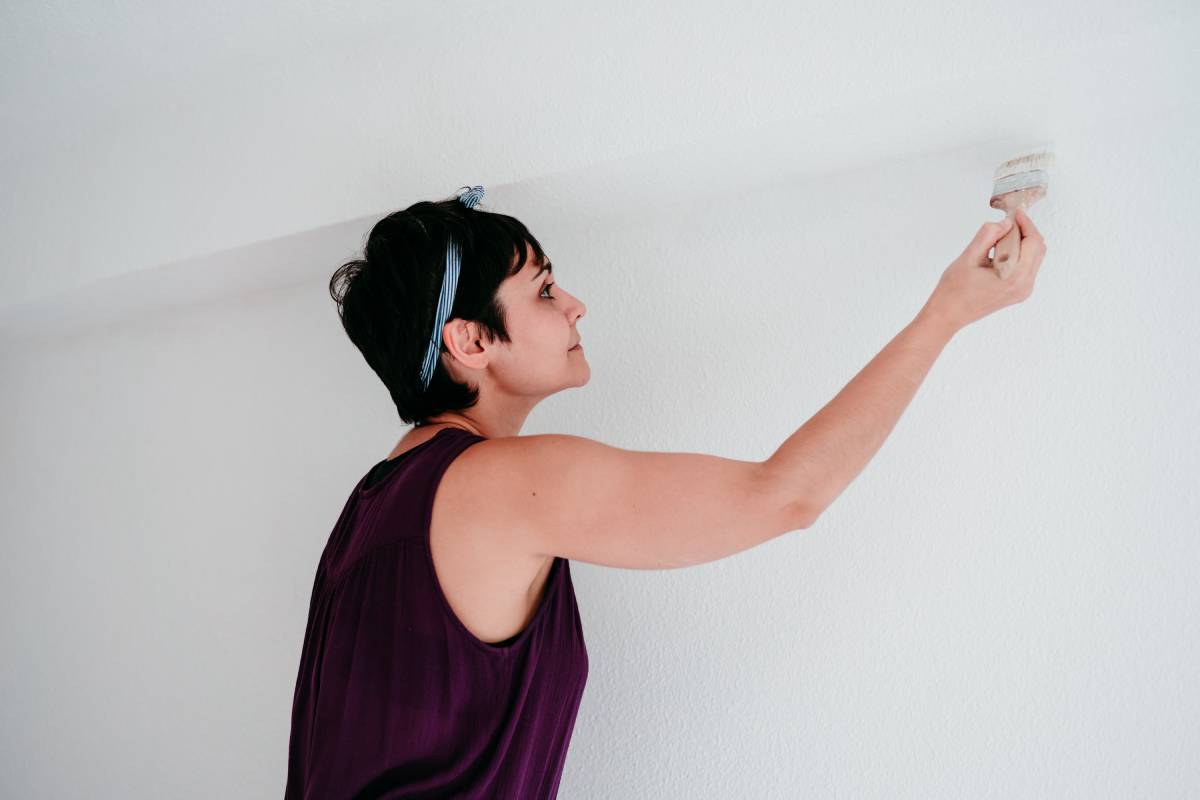
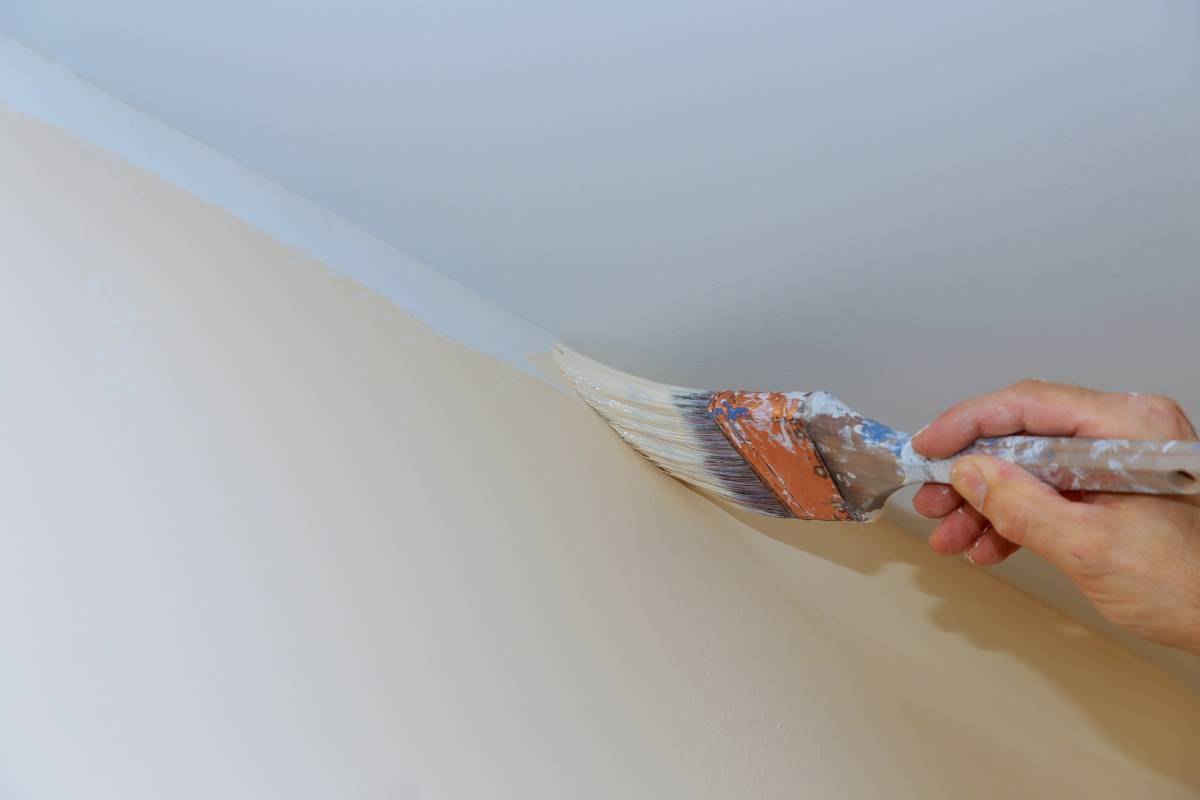
Using a small paintbrush (about 2 to 3 inches wide), “cut in” around the edges of the ceiling. This means painting along the taped edges where the ceiling meets the walls. The goal is to create a clean line without going over the tape. Be sure to work in small sections and maintain a steady hand.
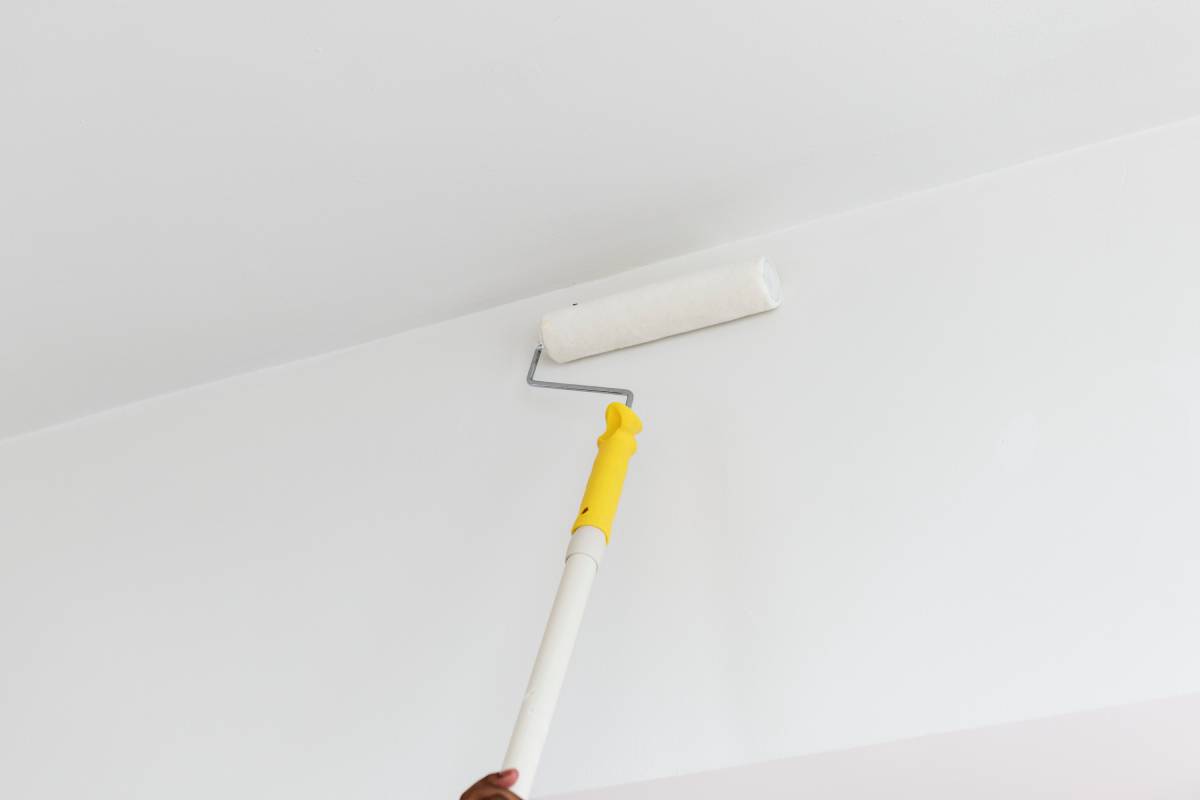
Step 4: Use the Roller for the Ceiling
Once the edges are cut in, it’s time to use the roller. Follow these tips for a smooth, even finish:
- Load the Roller: Pour paint into a tray and roll the roller in the paint until it’s fully covered but not dripping. You can roll the paint on a piece of scrap cardboard to remove excess paint if necessary.
- Start in One Corner: Begin rolling the paint in one corner of the ceiling. Use long, even strokes to cover the surface, rolling in a “W” or “M” pattern to avoid streaks and ensure even coverage.
- Work in Small Sections: To avoid overlap marks, work in small sections, about 3 to 4 feet at a time, and blend the edges as you go. This helps to ensure a seamless finish.
- Roll in a Consistent Direction: Always roll in one direction (either from left to right or front to back) to maintain consistency and avoid leaving roller marks.
- Apply a Second Coat: Once the first coat is dry, assess whether a second coat is needed. If so, apply it using the same technique to ensure even coverage and depth of color.
Step 5: Clean Up
After you’ve finished painting, it’s time to clean up. Carefully remove the painter’s tape while the paint is still slightly wet to avoid peeling. Clean your brushes, rollers, and trays with water (if using latex-based paint) or with a solvent (if using oil-based paint).
What Not to Do When Painting a Ceiling

While painting a ceiling is a fairly straightforward task, there are a few mistakes you should avoid to ensure the best results.
- Don’t Skip Surface Preparation: Skipping the preparation process can lead to poor adhesion and uneven paint. Always clean the ceiling, repair any damage, and apply primer if needed.
- Don’t Overload Your Roller: Overloading the roller with paint can cause drips and uneven application. Make sure your roller is adequately covered but not dripping.
- Don’t Forget Ventilation: Paint fumes can be strong, especially in an enclosed space. Make sure the room is well-ventilated by opening windows and using fans to circulate air.
- Don’t Rush: Painting takes time, and rushing the process can result in a sloppy finish. Be patient and allow enough time for each coat of paint to dry fully before applying the next.
- Don’t Ignore Safety: If you’re using a ladder, make sure it’s stable and that you’re not overreaching. If you use an extension pole, ensure it’s securely attached to avoid accidents.
- Don’t Paint Over Dirty Surfaces: Dirt, grease, and grime can prevent paint from adhering properly. Always clean your ceiling thoroughly before starting.
Conclusion
Painting a ceiling might seem intimidating, especially for beginners, but with the right tools, preparation, and technique, you can achieve great results.
Start by preparing the room and cleaning the ceiling, then use a roller to apply even coats of paint.
Remember, patience is key, and by following these steps, you’ll be able to transform your ceiling with minimal effort. Avoid common mistakes, and you’ll have a beautifully painted ceiling that adds a fresh touch to your home.


